Monday 23 May 2016

Unit 57 - Photography - Assignment 1 - Task 2


Task

Within this task we were to produce three contact sheets including by using all three of our chosen themes of photography, the contact sheets were to include 20 images in each.

How will this help?


By doing this task, I have now put all of my knowledge and produced different types of images, I now have a clear understanding of how to take images using different settings and of different things in order to create three different types of photography. In the next task my images will help me as I can provide evidence of my own take on the themes of imagery, this is good as this will add more onto my own information page on my website.

Advertisement 


Fine Art


Photojournalism


Best Images

Advertisement: 


This is one of my best images as the rule of thirds is used well as the full focus is put onto just the can, the colours are very bright due to the natural light that it bought into the image. This image is taken in the style of advertisement due to the colours and the type of the image. 

The fruit colours help bring this image to life within the advertising world of photography, the detail is powerful as you can see each seed within the fruit. The colours are very bright due to the perfect light and composition of the image. This image is certainly one of y best images taken. 


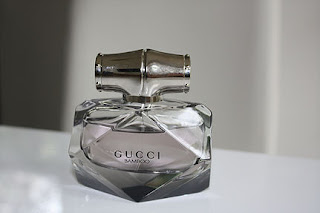
This image is very simple which means the meaning and the product is very to the point and in main view within this image. When doing advertising photography you need to ma sure they image includes the right lighting and shows the one product in which you are trying to sell. The colour and reflection within this image is done very nicely due to the right aperture, to let the right amount of light into the image, this creates a really nice effect.


Within this image I have taken there are many gas aspects which could have lead to an over power within the reflection, however due to my settings on the camera I was able to control this, the light which was let into the image has help me to create a crisp and smart looking affect within this image. The image stands out as it is straight to the point and shows the focal point on that one product in order to connect with the viewer and show them that one image.

Fine Art Photography:


Within this image, I made sure the aperture was adjusted to small in order to let less light in, in order to make the image look interesting and mysterious. The reds within the interesting looking plant helps to create a dark effect, this image cold be connected to a dark story due to the colours, the lighting and the contrast of the colours work well. This image was enhanced to bing out the colours more.


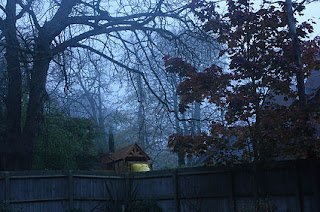
This image is on of my best, as the effect caused by the aperture made this image look scary due to the colour contrast. Within this I have done no further editing, I took the image on a low aperture in order to create the darkness within this image. the yellow slide in the background creates a mysterious theme as tho the garden is in a haunted dark forest.


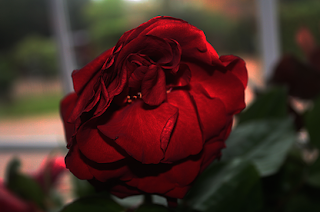
This image is very interesting as the red is enhanced a lot to create a better effect on the colour which has been showed, the image was edited by myself in order to make the image darker but increase the colour of the rose in order to made it stand out, this image could mean a lot, it could be themed as both love and sadness due to the droopiness of the leaves on the whole flower.


This image is of water on a table reflecting the branches of a tree, this is very good as you have more than just reflection from the war, the table is also reflecting the branches creating more of a emotion to the image, the image has been made to look darker in order to gain emotion and depth, this makes it more interesting to look at.

Photojournalism Photography:


 This image was changed to black and white as the same as normal photojournalism themed, this image illustrates and shows the young turing into old this is the process which is showed within this image, this is done by using contrast between and young hand and an old hand. The black and white creates more depth, meaning and emotion within the image.


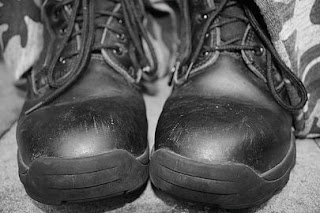
In this image, is of shoes to show the destress of war and inflict, this is showed by the quality and the condition of the boots, the lighting is used well and the focal point is set onto the boots due to the rule of thirds. The black and white effect makes sure the emotions are conducted well and are communicated through the state of the image.


This image is the close of the state of the boots, this is of someone standing up, this can show a story about what the war and conflict does to a shoe and a person, the shoe represents the personality within someone as a person, the lighting, angle and the black and white effects helps in order to create a more meaningful and emotional effect.


Tuesday 17 May 2016

Unit 57 - Photography - Assignment 1 - Task 1


Task 1 

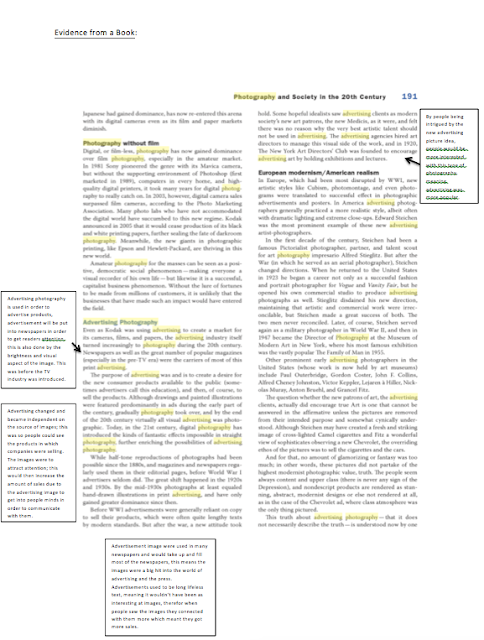
Within this task we were asked to research into the 4 types of photography, documentary, fine art, advertising and photojournalism. I have included information about all of them and also some photographer examples. The second part of this task was to find and extract information about how imagery communicates ideas, we were to extract information from different sources.


What have I learnt? 


During this task I have really got a good understanding about the four type of photography, which were, documentary, fine art, advertising and photojournalism, as I have done a lot of research about all four types of photography, I have got a lot of knowledge in order to go onto task 2, when I will be taking my own images in all four themes, this is my chance to show my own take on the different type pf photography. As i have looked at different examples in this task I know exactly what I am going to be doing in task 2.


Task 2 - Before and After Photoshop

Task 2  -  The task was to, prepare images for our double page spread, showing the before and afters of all of our images in which we were going to include within our double page spread.


Image 1


Before


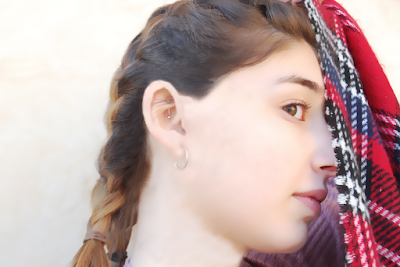
Within this original image I took, there are many improvements in which could beamed in order to create a more professional looking image. When editing this picture I aim to smoothen the sin in order to remove any blemishes and redness on the face. I aim to remove any loose pieces of hair resting on the face and on top of the head, by removing the pieces of hair I aim able to make a better looking image. I also want to make the background one colour in order to remove the background image.


After


After editing my image, I can see that it look more professional and magazine quality in comparison to my previous original image, the tome within the background is better than before as you can still see the cream wall on the left but the blurred background image from the original image has gone, leaving a nice contrast. the face and skin in much smoother and have no blemishes, the lose pieces of hair have been removed and has been cleaned up leaving a nice image, in order for me to put into my magazine.


Image 1


Before


When editing this original image, I aim to remove the blemishes within the skin and  also to make the skin on the face as smooth as possible. I aim to remove the dust and glitter from the hair and to remove the pieces of hair which have fallen along the side of the face and also I plan to remove the loose piece of hair which are standing up as the back.


After


After editing this image I can see that there isa big difference from the original image, am you can see I have made the skin much smoother and have got rid of the redness of th skin and the blemishes. I have made sure that the hair on the face was removed, meaning the face area looks much more tidy, and also the glitter and dust was removed from the hair leaving it looking smarter and sleek, and also the loose pieces of hair standing at the back were removed. Now the image looks professional and up to magazine standard.


What I have Learnt

During this task i have done a lot of research into editing images on photoshop and during this task I have made sure I used all of my research to complete it to the best of my ability. During this I also red many lifestyle magazines not just to look at the articles but to look at the main images on the magazine double spreads, by doing this I had an idea of what expectation of image I should create and from this I have done exactly that. I have engaged photoshop skills in order to help me out with task 3 where I will complete my magazine double page spread.

This image is the most appropriate image for my magazine, as y style was focusing on the lifestyle magazine, within the gossip part of the magazine. In order to make this image better quality for the magazine, I have edited and photoshopped this image. This image reflects on my original thoughts when focusing on Kylie Jenner, the image of her with the full body with french plates, reflects and looks similar to this image.


Before


After


Friday 13 May 2016

Task 1 - Mood Board For Magazine

Task 1 - Within this task we were to source existing images but also our own, as create a mood board with all of our ideas, we were to do this on photoshop.

My Moodboard
What I have Learnt? 

During this task i have taken my own images, from the inspiration of other images found in magazines and ones which are of magazine style and quality, From this task I have gained knowledge about the images which are found in magazine, I have picked up on their styles and the way they have been photographed I have used these skills within my own photography. This task has given me inspiration for task two as I have seen the quality of the existing magazine styled images, I will edited my own images in this way.